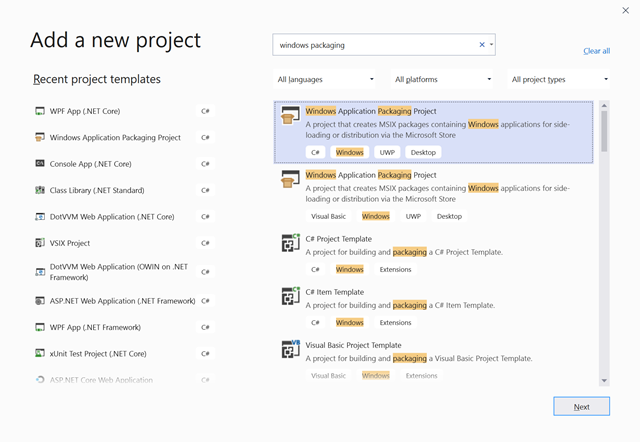
In the previous post, I described how to use Windows Packaging Project in Visual Studio to build a MSIX package manually.
I also mentioned the difference between running the application normally (when your WPF/WinForms app project is marked as a startup project) and running the application from a package (when the package project is the startup project).
For normal development, you’d ll be probably running the application normally, but it is useful to have the opportunity to test the package directly from the Visual Studio – there may be tiny differences between these two modes.
Continuous everything
Once your application is ready, you’ll want to distribute it to the end users. Commonly there is also a small group of “beta testers” or “early adpoters” who’ll want to get preview releases. You may also want to have internal builds.
Therefore, we can create several release channels:
- Dev (not automated, built directly from Visual Studio)
- Preview (built and published automatically for each commit in master)
- Release (built automatically, published manually)
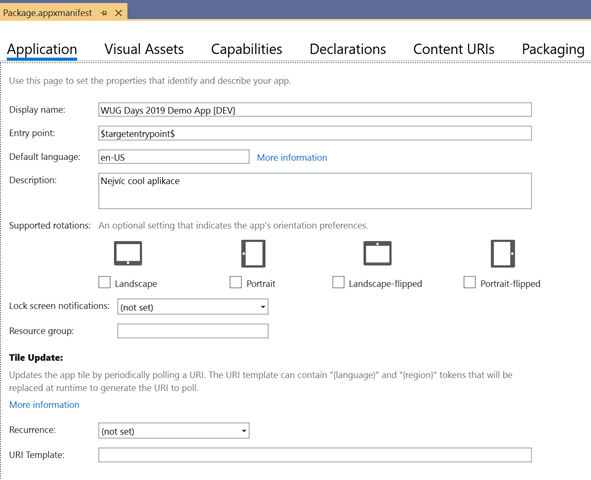
Since the Dev version will not go through the CI/CD process, let’s update the Package manifest to be the manifest for the Dev version.
- Set the Package Identity to “yourappuniquename-dev”.
- Add a “[DEV]” suffix to the Display Name so you can easily recognize the installed versions.
When you set the Package project as a startup project and run it, the application should install automatically in the Start menu.
Automated builds of MSIX packages
I am using Azure DevOps which is a natural choice for most .NET developers. However, if you prefer any other CI/CD solution, don’t worry – everything we’ll do can be automated using command line tools, and Azure DevOps only provides UI for these operations.
Creating the new Build pipeline
I have created a new Build pipeline using the new YAML pipelines. They don’t have such comfortable UI as the classic pipelines, but they store the entire pipeline together with the source code and can be versioned with full utilization of branches, which is super-important in larger projects because the structure of the solution evolves over time, there are always some new components and so on.
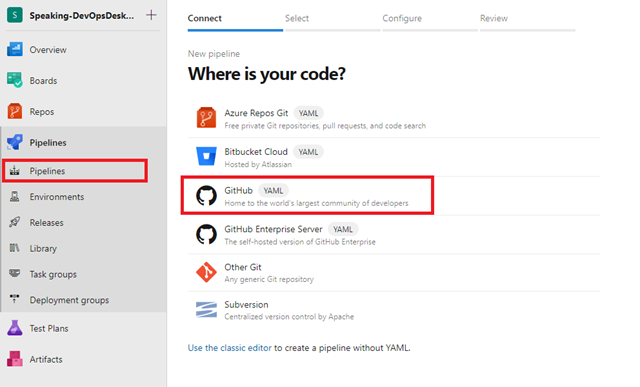
If you store your source codes within Azure Repos, it is the easiest way. If your repo is elsewhere (External Git, SVN), choose the appropriate option.
My sample project is on GitHub, so I am choosing it.
On the next step, I’ve selected the repository and authenticated with my GitHub account.
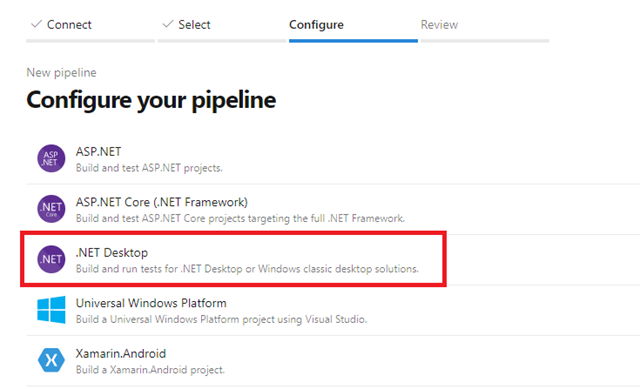
Now select .NET Desktop even if your app is in .NET Core – we’ll remove most of the code anyway:
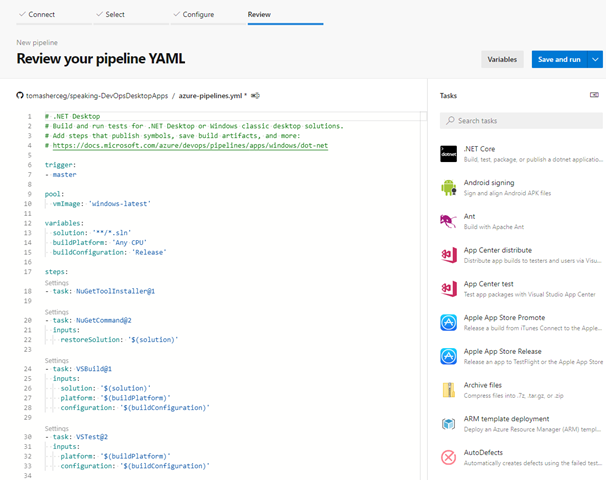
Azure DevOps now opens the YAML editor you can use to define your build process.
Buidling the packages
Our process consists of 3 steps:
- Udpdating the package manifest to match the correct channel. Since the manifest is a XML file, we can do this using PowerShell.
- Building the solution (with some MSBuild parameters added so the package is produced)
- Publishing the MSIX and related files as build artifacts
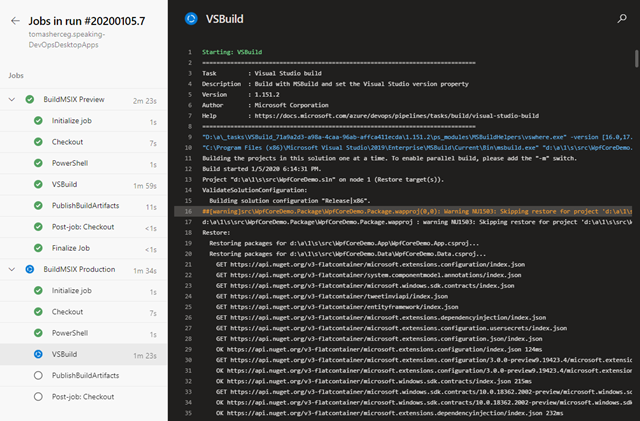
Since we want to have the Preview and Production consistent, we’ll build both within the same build from the same sommit. Thanks to this, when you make sure that the Preview version is working, you can publish the same source code as a stable version.
The YAML file starts with the following code:
trigger:
- master

pool:
  vmImage: 'windows-latest'

variables:
  solution: '**/*.sln'
  buildPlatform: 'x86'
  buildConfiguration: 'Release'
  msixInstallUrl: https://wugdaysdemoapp.azurewebsites.net
  packageVersion: 1.0.0
  packageName: 'WUG Days Demo App'

jobs:
- job: BuildMSIX
  strategy:
    matrix:
      Preview:
        channelName: 'preview'
        packageIdSuffix: '-preview'
        packageNameSuffix: ' [PREVIEW]'
      Production:
        channelName: 'production'
        packageIdSuffix: ''
packageNameSuffix: ''- The first section says that this pipeline is triggered on any commit made to the master branch.
- The second section says that we’ll be using the latest version of the built-in Windows agents. These built-in agents come with Azure DevOps and you’ll probably have some free build minutes. If you’d like to use you own VMs, make sure they have the latest Visual Studio and Windows 10 SDK installed.
- The third section defines variables for the entire build pipeline.
- Since we want to repeat the same steps for two channels (Preview and Production), I’ve added the strategy element. It defines additional three variables (channelName, packageIdSuffix and packageNameSuffix) for the two runs (Preview and Production).
  steps:
  - task: PowerShell@2
    inputs:
      targetType: 'inline'
      script: |
        [xml]$manifest= get-content ".\src\WpfCoreDemo.Package\Package.appxmanifest"
        $manifest.Package.Identity.Version = "$(packageVersion).$(Build.BuildId)"
        $manifest.Package.Identity.Name = "demo-864d9095-955f-4d3c-adb0-6574a5acb88b$(packageIdSuffix)"
        $manifest.Package.Properties.DisplayName = "$(packageName)$(packageNameSuffix)"
        $manifest.Package.Applications.Application.VisualElements.DisplayName = "$(packageName)$(packageNameSuffix)"
        $manifest.save(".\src\WpfCoreDemo.Package\Package.appxmanifest")

  - task: VSBuild@1
    inputs:
      solution: '$(solution)'
      msbuildArgs: '/restore /p:AppInstallerUri=$(msixInstallUrl)/$(channelName) /p:AppxPackageDir="$(Build.ArtifactStagingDirectory)/$(channelName)" /p:UapAppxPackageBuildMode=SideLoadOnly /p:GenerateAppInstallerFile=true'
      platform: '$(buildPlatform)'
      configuration: '$(buildConfiguration)'

  - task: PublishBuildArtifacts@1
    inputs:
      PathtoPublish: '$(Build.ArtifactStagingDirectory)'
      ArtifactName: 'drop'
      publishLocation: 'Container'
In the rest of the file, we define the build tasks:
- The first is a PowerShell script that opens the manifest file as XML and updates the package identity (version, name) and the display name (it’s there twice). The version number is composed from the static packageVersion variable (1.0.0) with added Build.BuildId built-in variable that is a numeric sequence representing the number of builds.
- The second task is the MSBuild with a few parameters:
- /restore says that we want to do NuGet restore during the build
- /p:AppInstallerUri specifies the URL where the MSIX package will be published
- /p:AppxPackageDir is the path where we want to have the package outputs (the default is projectDir/AppPackages) – I am putting in in the staging directory for the artifacts task
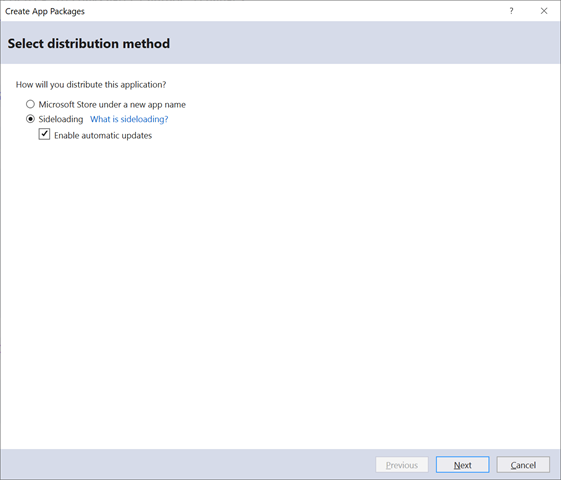
- /p:UapAppxPackageBuildMode=SideLoadOnly means that the package won’t go the the Windows Store and will be side-loaded
- /p:GenerateAppInstallerFile tells MSBuild to generate the .appinstaller file – it is a simple file that defines the latest version of the package and can be used to check whether theare are new versions of the app
- The third task just takes the artifacts staging directory and publishes it as a result of the build.
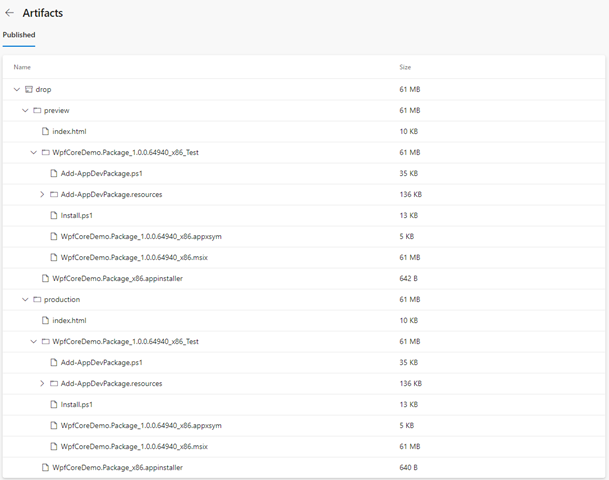
When the build finishes, your packages will be published in the drop artifact:
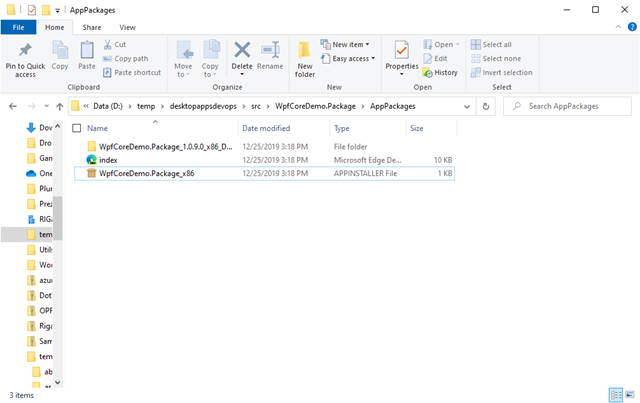
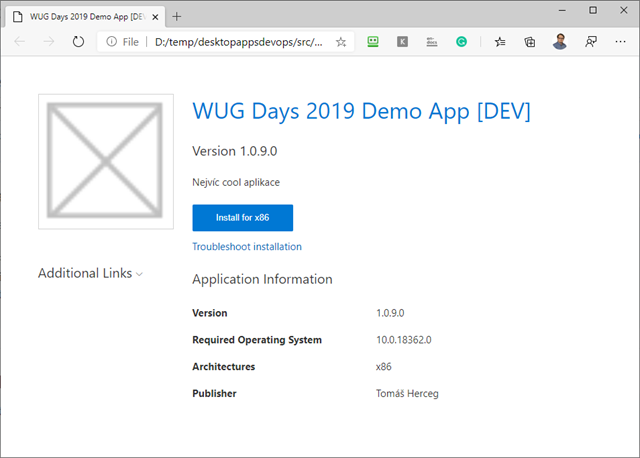
You can see that there are two folders in the artifact, and each holds the index.html page, the app installer file and a versioned folder with the MSIX package itself.
That’s for building the packages. In the next post, I’ll show how to release the packages.
